How to make Glitter Easter Eggs
This post may contain affiliate links and/or codes. You won't pay anything extra, but I might make a commission.
Latest Post: How to Be a Good Dinner Party Guest


Want to make beautiful glitter Easter eggs that will last year after year? Here's how to take your Easter crafts to the next level so that the glitter stays on the eggs, and doesn't get all over your house!

Easter Crafts
Is it just me, or are Easter crafts messier than other crafts? There's always lots of paint, or glue, or glitter. OMG the glitter.
I'm not crafty. I can follow instructions well enough no matter what the project is, but I'm not naturally crafty. I don't even have a "craft area" in my house. Which is why I got the brilliant idea to make Glitter Easter Eggs last year at my mom's house instead of my own.
(Actually, I got the brilliant idea from a website that no longer exists, so I'm taking all of the credit.)
See, once you start glittering things, you will never get rid of the glitter. Ever. The only way to craft safely is to do it at someone else's house.
I'm pretty sure my mom is still finding glitter a year later. Sorry mom! I've since learned how to clean glitter up more effectively, so read on.
Sealing the glitter
The kids and I made these gorgeous glitter eggs last year. They're so sparkly!
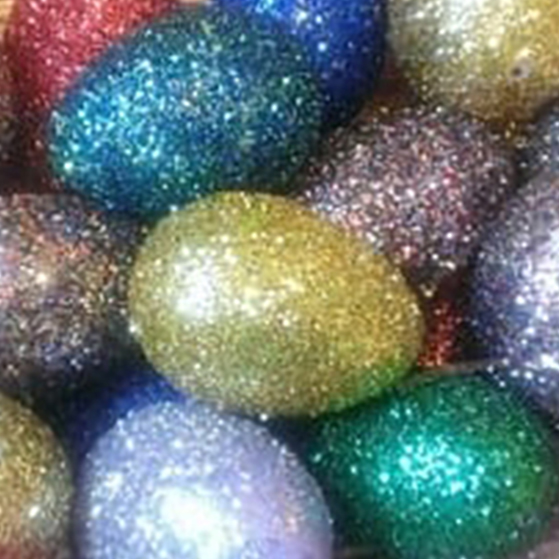
And we actually had fun making them (I only yelled a few times).
Because we sealed the glitter onto the eggs, we can put these in a plastic bag for storage and take them out a year later and the bag won't have any loose glitter on it. This year we have beautiful eggs, and we didn't even have to craft! [Update: After about five years, some of the eggs started losing glitter. It came off in chunks, so it wasn't messy, but those eggs weren't pretty anymore.]
Or, you can skip that step and just live with the glitter. If you already have a house full of glitter I guess it wouldn't matter.
How to clean up glitter
However, even if you do spray the eggs to hold the glitter in, you'll still have some glitter to clean up from actually making the glitter eggs. Here's how I've learned to tackle it, and it works well.
First, vacuum. Keep vacuuming. Vacuum until you think you've gotten it all (you haven't).
Then, go over the surfaces (tables, chairs, floors, everything) with a sticky lint roller. These are great for so many things! They don't just pick up glitter, but also pet hair, glass, staples, and of course, lint.
Now, go forth and craft! Preferably in someone else's house.
Recipe Card
How to make Glitter Easter Eggs
These glitter eggs are gorgeous, and once they've been sealed, they don't leave any glitter anywhere!
Materials
Tools
- spoons
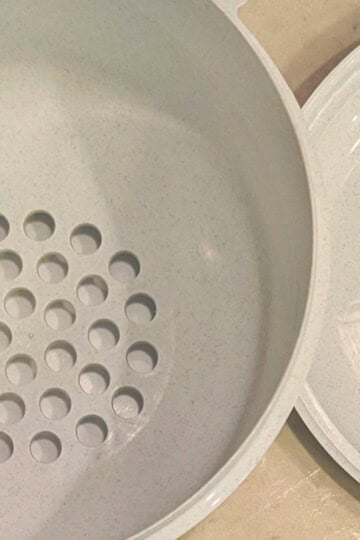
- bowls
Instructions
- Put however many colors of glitter you want to use into individual bowls
- Take a plastic egg and stick a wooden skewer into the hole as far as you can – you don’t want the egg to fall off!
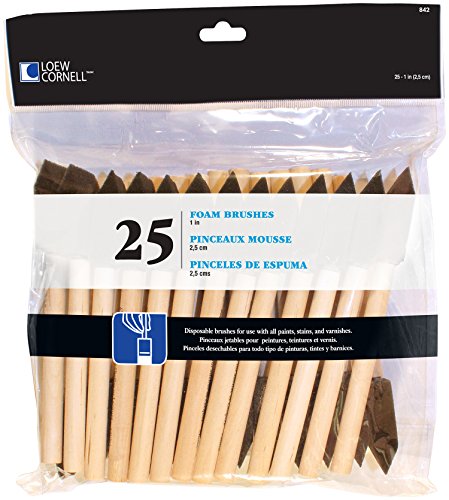
- Using a foam brush, apply a thin coat of Mod Podge glue around the entire egg
- Holding the egg over a bowl of glitter, spoon glitter over the egg, letting the excess fall back into the bowl
- Once the egg is completely covered, stick the bottom of the skewer into the foam block so that the glue can dry, at least a couple of hours (overnight is even better)
- Repeat with the rest of the eggs
- Once the glue is completely dry, hold each egg by the skewer and spray each egg completely with the sealing spray
- Once again, let the eggs dry completely, at least 2 hours (overnight is best)
- Once the acrylic is completely dry, carefully twist the skewers out (hold on to the egg right where the skewer went in, so that you don’t pull off a chunk of the glitter)
- Arrange the eggs in a basket or clear vase
Notes
If you don't want to deal with the last step of sealing in the glitter you don't have to, but the eggs will lose glitter.
Once sealed, you'll be able to bring these decorations out for years.
Recommended Products
As an Amazon Associate and member of other affiliate programs, I earn from qualifying purchases (but you won't pay anything extra!)


You had me at Glitter is the herpes of the crafting world...
@Nancy: I wish I could remember where I first heard that. I think it was on Facebook.